Wednesday, 9 March 2011

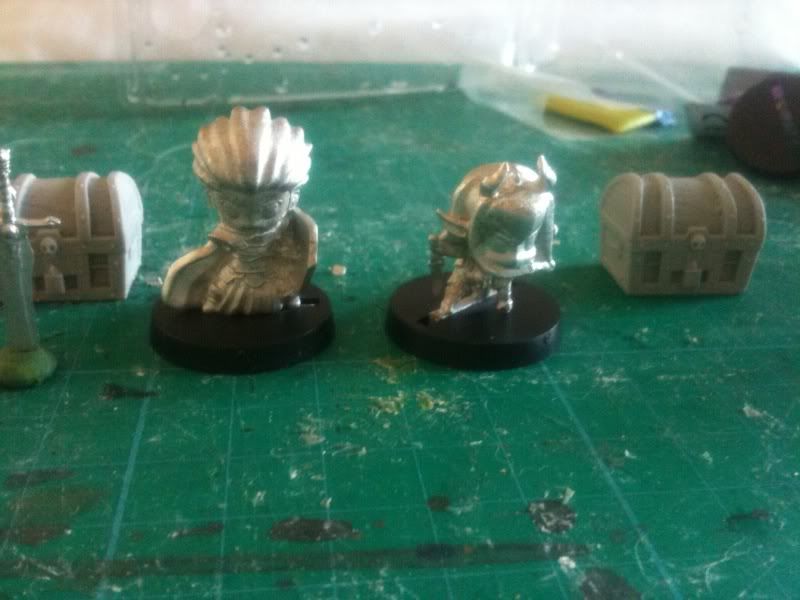
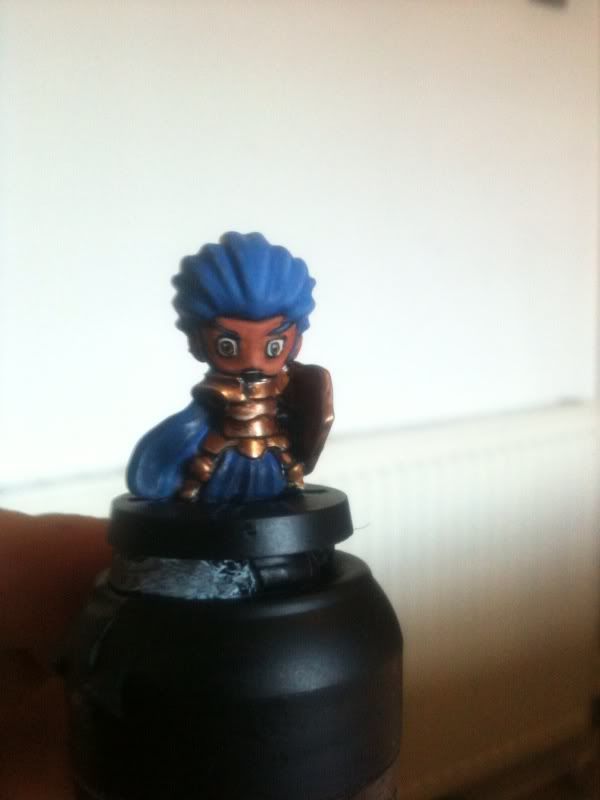
Today's work: progress on the paladin


this little guy is a lot of fun to paint. His original White armour didnt work out so well, so he got a bronzey-gold outfit instead. Just need to finish his skin and his cloak and he's a done deal! Especially happy with the blue hair

Tuesday, 8 March 2011

Daemonkin rogue finished

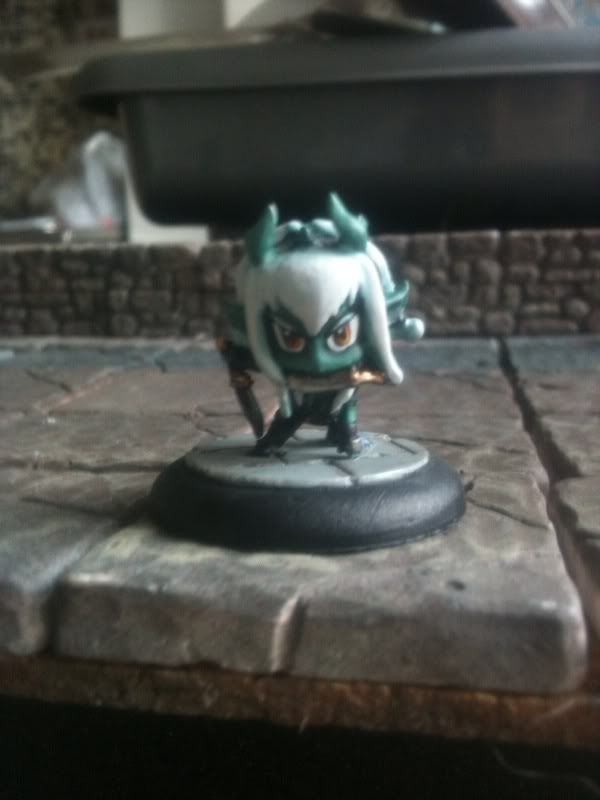
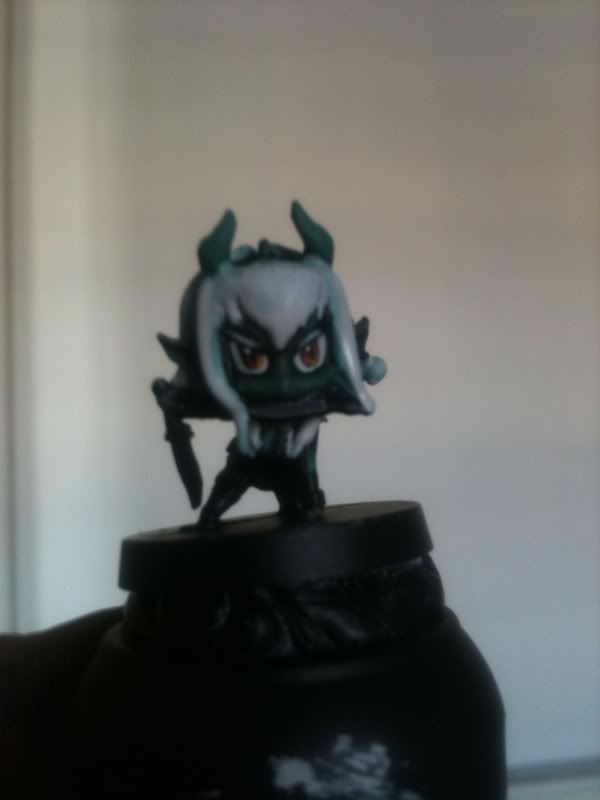
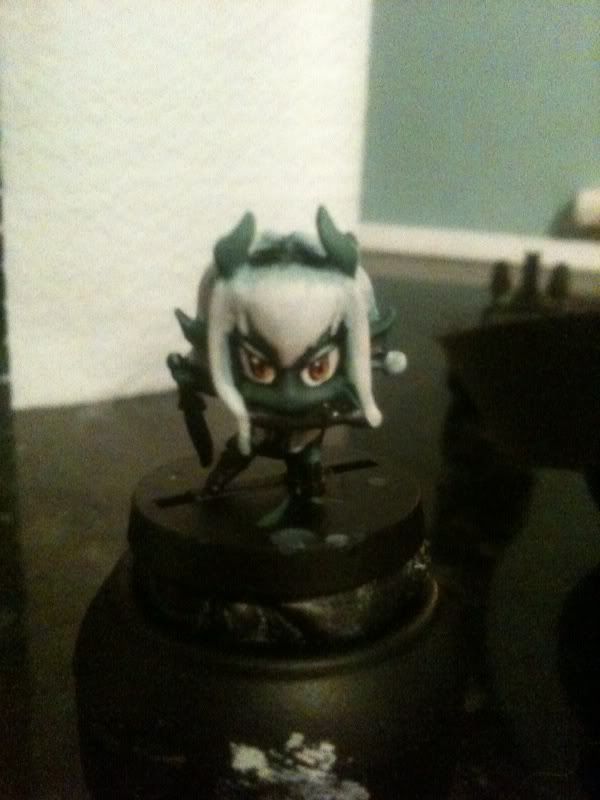
Here she is, again the photos are the best I can manage with my cameraphone


a bit closer and a bit more out of focus...


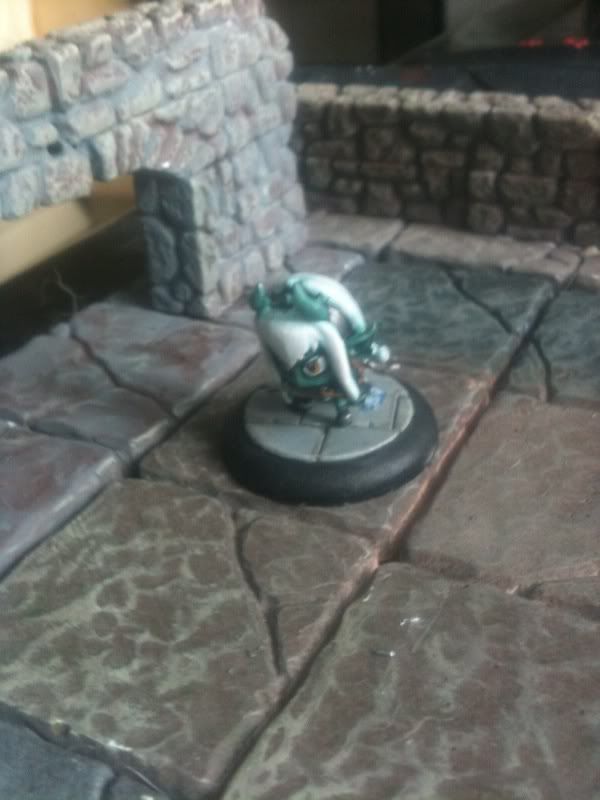
here she goes owning a rather empty dungeon... The base is from dragonforge by the way


next up, the paladin, and by Jove for the first time in my life I'm ahead on my painting schedule!

SDE sneak peeks

Wow! I just happened upon the website of SDE sculptor leonard dill, there are pics of his sculpts for the SDE barbarian, Druid (with awesome bear form) a sorceress, and a great big dragon!

www.leonarddill.com

Monday, 7 March 2011

The heroes have arrived!

Never fear! The heroes are here! That is, the paladin and rogue.

I opened the blister packs to find the models were cleanly cast and the detail was crisp, although you can tell by looking at them that they'll be very different than any model I've painted before. There are lots of flat areas etc


I had no issues with assembly. Both models came in two pieces, I left the paladins sword arm off so I can paint his armour. The rogue has a seperate body and head. The treasure chests that come with each model are made of resin and have that lovely cartoony look


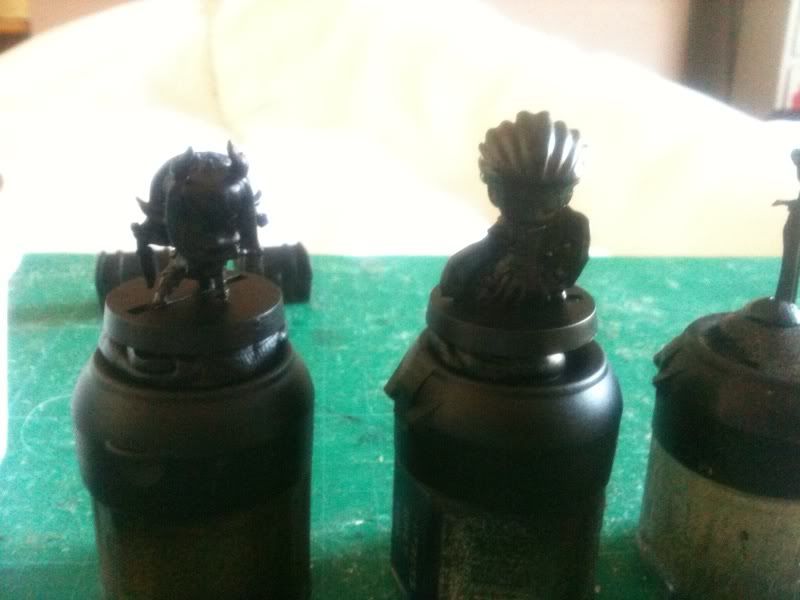
everything got cleaned up, washed and a black undercoat. I prefer White but i never seem to finish models I undercoat White.


here is today's progress, unfortunately I only have my phones camera, these were the best pictures I could get. I'm quite happy with the eyes


okay! Hopefully by the time I finish these guys, the kobolds will arrive!

Friday, 4 March 2011

Dungeon finished!

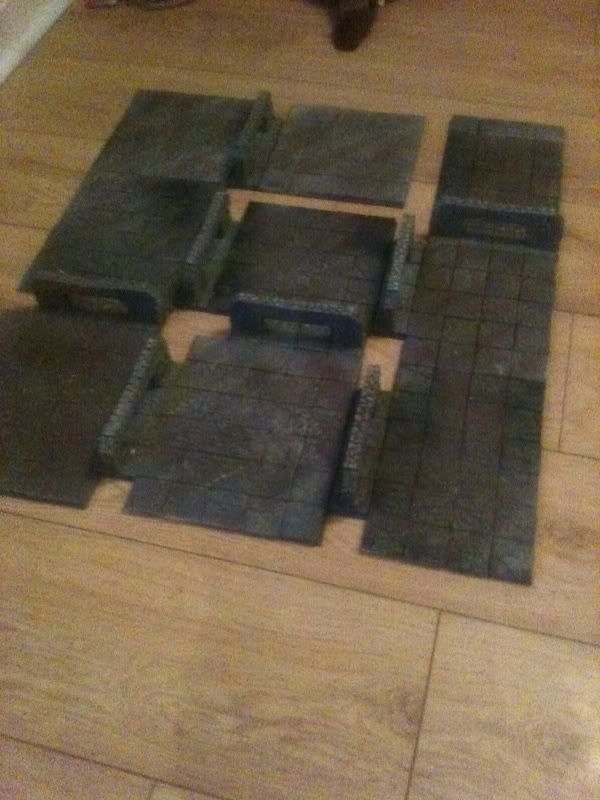
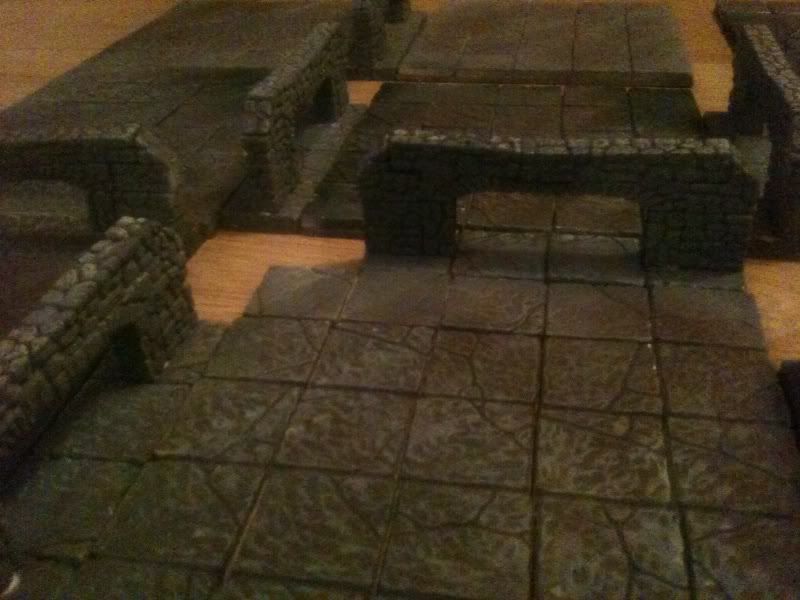
Hooray! Doors and floors completed! I still need to make another door and the Wall sets, but I think I can take a break and play some games before I build those!

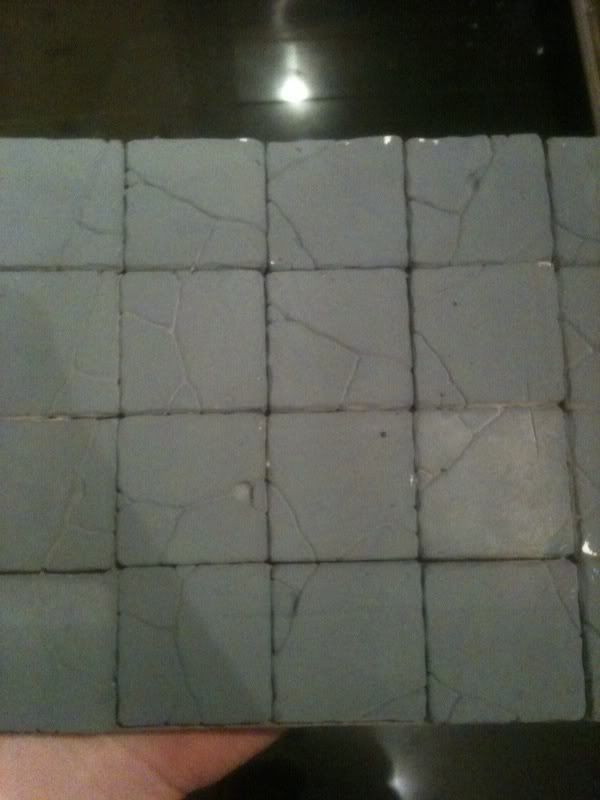
Painting the doors then, first, give I gave it a coat of that wretched humbrol spray.


next, I gave it a really watered down wash of scorched brown


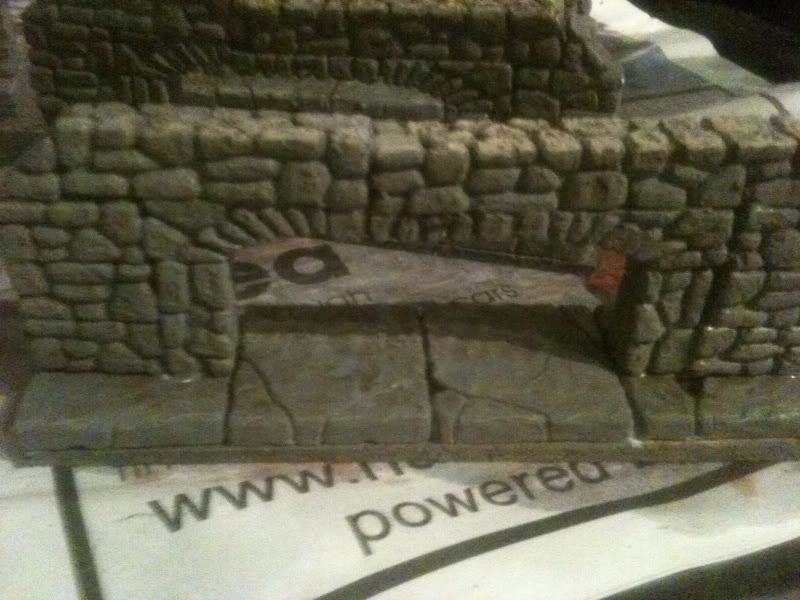
then, I gave it a watery wash of catachan green


When the whole thing is dry, it gets a drybrush of kommando khaki


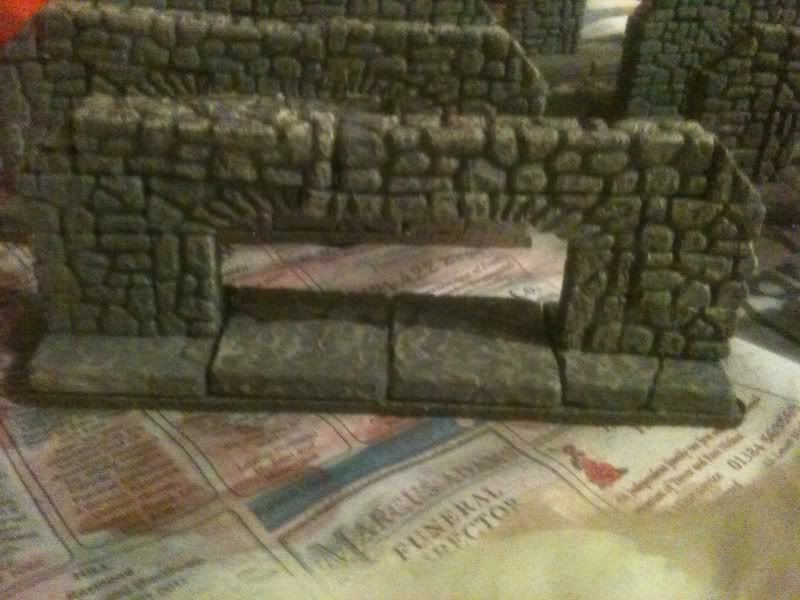
finally, a drybrush of rotting flesh


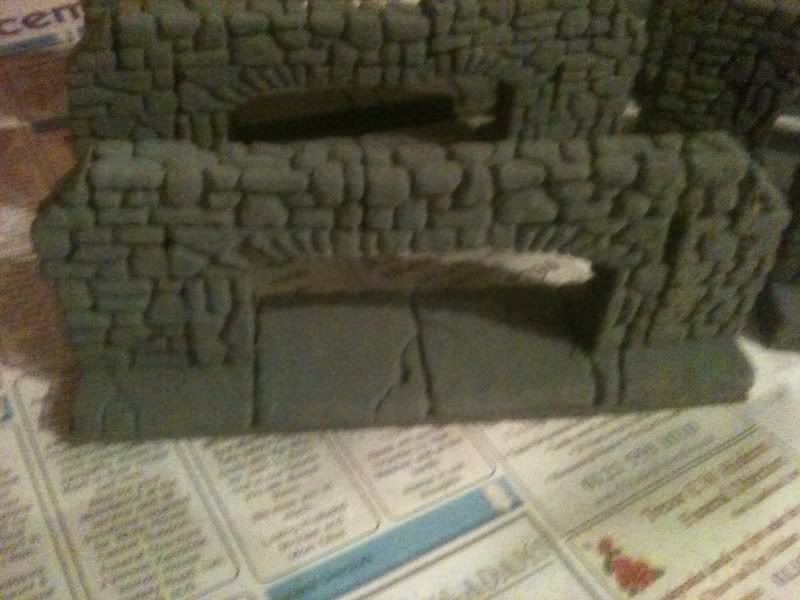
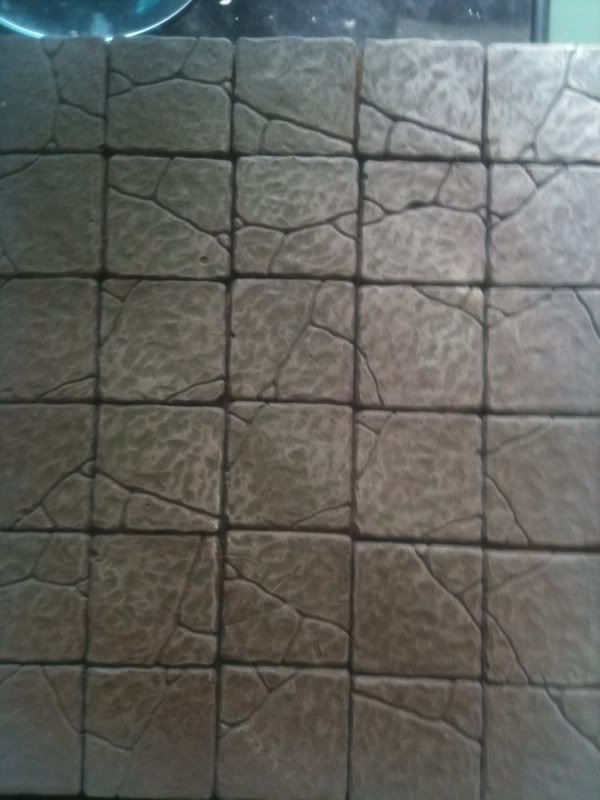
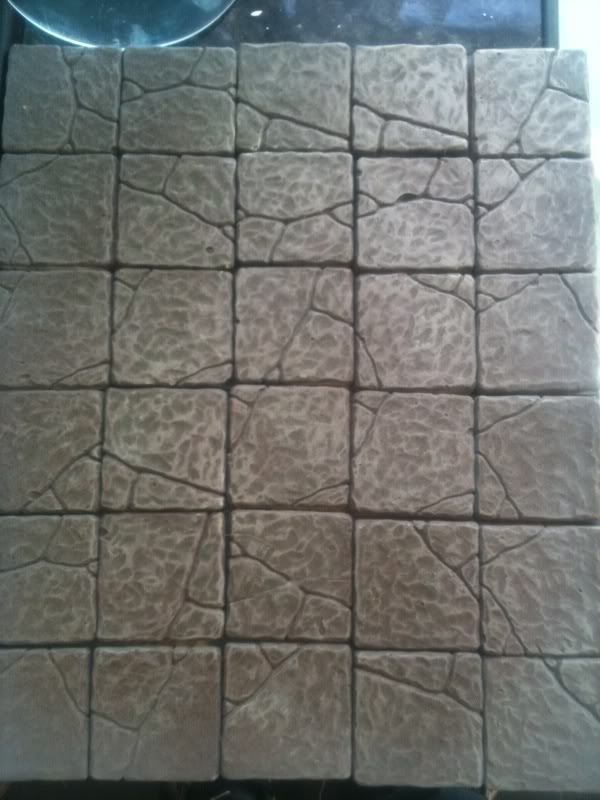
Here's the whole thing


and a models eye view


now I gotta get playing some games!

Wednesday, 2 March 2011

Painting the dungeon

Okay, feels like i'm on the home stretch now!

First off, I gave the pieces a coat of humbrol sea grey spray. I was a bit dissapointed with this, as although the colour was fine, two cans that cost me £4.99 each wasn't even enough to do the floor tiles, so now I need to make another journey and spend more money to do the doorways and Walls. I wanted to use GW roughcoat but apparently they don't stock it anymore


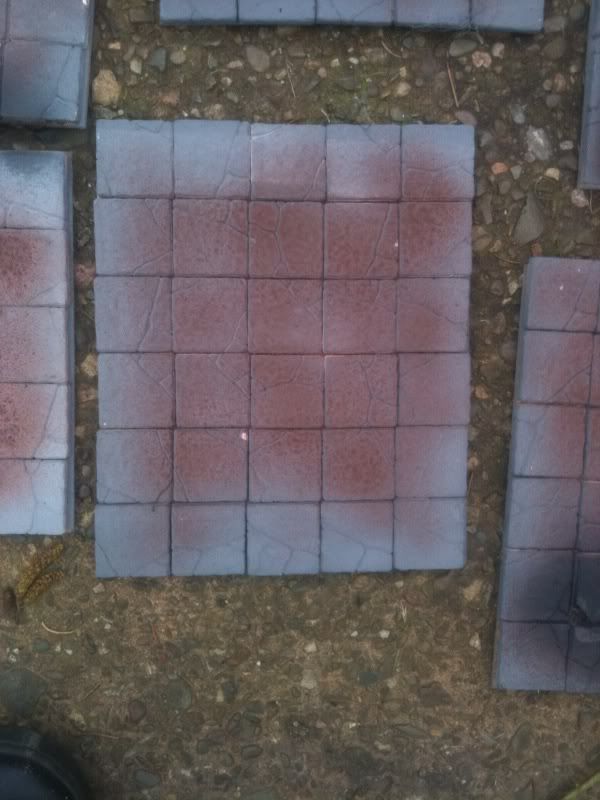
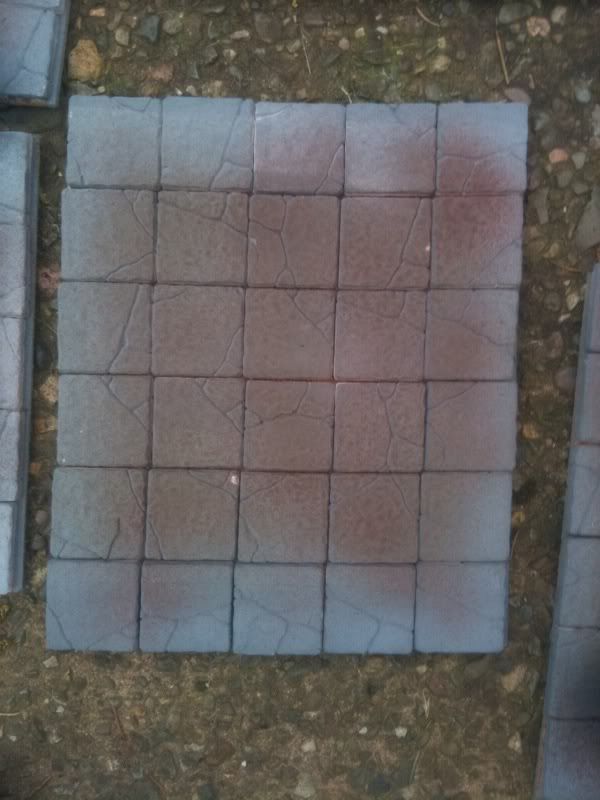
next, I used a cheap airbrush to spray the pieces with a wash of GW scorched brown. This was very watery, probably the same consistency as dirty brush water. This is to give the pieces more of a tone than a colour, it's just going to rest in the subtle recesses of the floor tiles


when this was dry, I repeated the process with GW catachan green, but I sprayed from a different direction than the brown


Next, I drybrushed the whole thing with GW kommando khaki, having first patched up a few bits with GW adeptus battlegrey. There's a few tiles I used a touch of black spray around the edges, to cover where the grey had missed (couldn't use the grey, as it was run out). This gave a few of the tiles a darker look, I'm ok with this, it gives the rooms a bit of individual character whilst they're quite plain.


and the final stage, a very light drybrush of GW rotting flesh. I love this colour for rock and stone, it's a really soapy, alkaline colour that works for all kinds of stuff


I think what I need to do is leave the pieces be for a few days, as they obviously hadn't set properly when I was handling them, few pieces shifted about or needed reattaching.

Learning points for next time:

1)buy more grey spray if I'm going to use humbrol

2) spray the cork tiles black before attaching the pieces, saves time and ugly gaps later.

3) leave the damn pieces alone for a while!

Now mr postman, hurry up and deliver my heroes!
Tuesday, 1 March 2011

Basic dungeon built! Hooray!

The cork tiles came this afternoon, so I set about building the floors and doors, enough to play the game when the miniatures arrive!

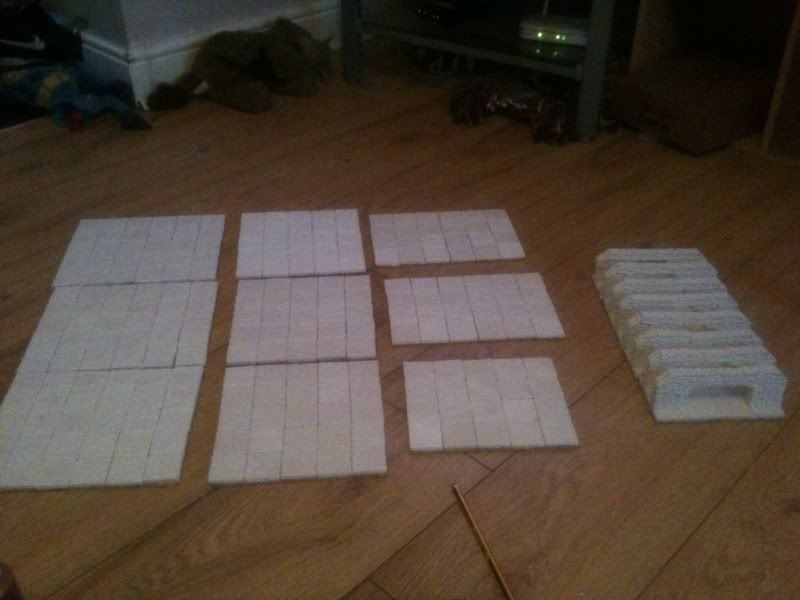
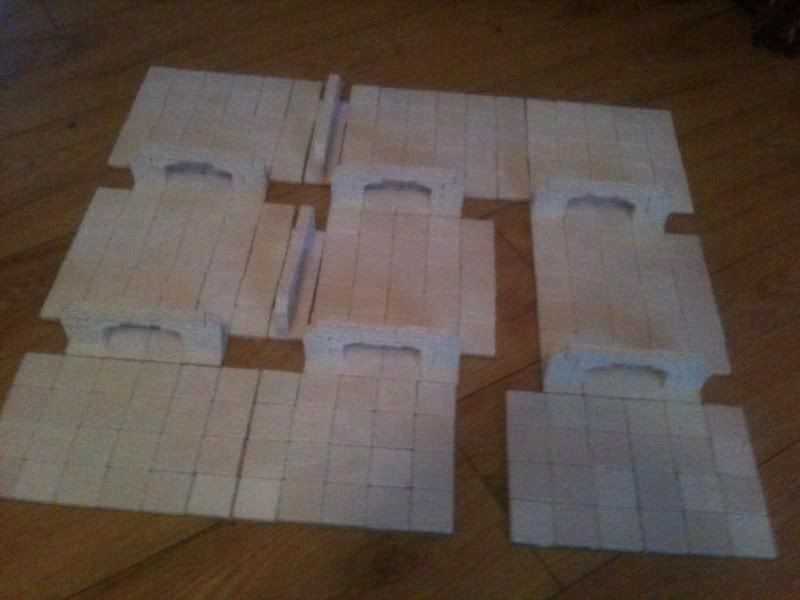
Here are the pieces, 9 floor tiles and 8 doorways. It occurred to me after taking the photo, I actually need 9 doors! I'll make another soon...


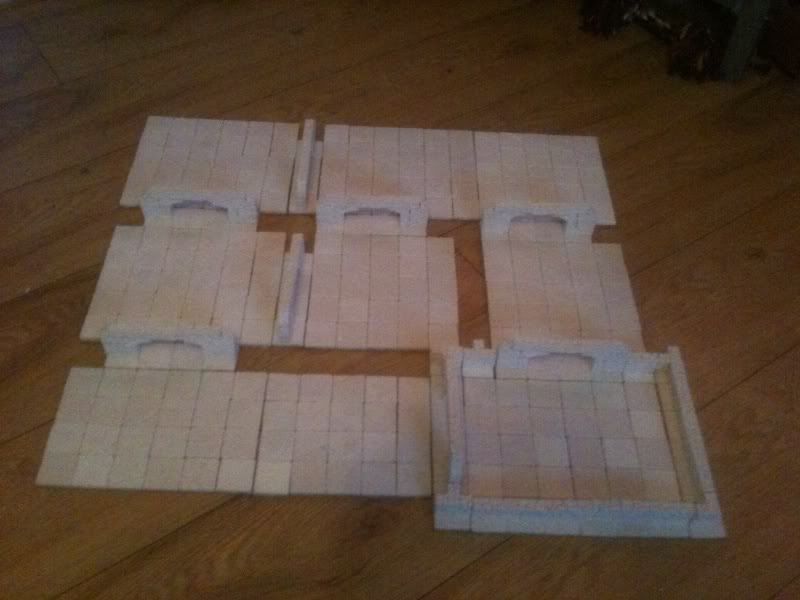
so here is the demo board layout as per the demo rules (minus 1 door)


I used the Walls I've already made to demonstrate how the finished product should look. There's a few rough edges on the cork tiles that need shaving down, hence the rough fit, it will be tighter and neater when it's done


okay, I'm off to stock up on paint!